Game sound:
Music used in the background of games, makes a game more interesting to play, especially if the score used can capture the emotion and energy of the game being played.
How Catcher in the sky became the score for a Game:
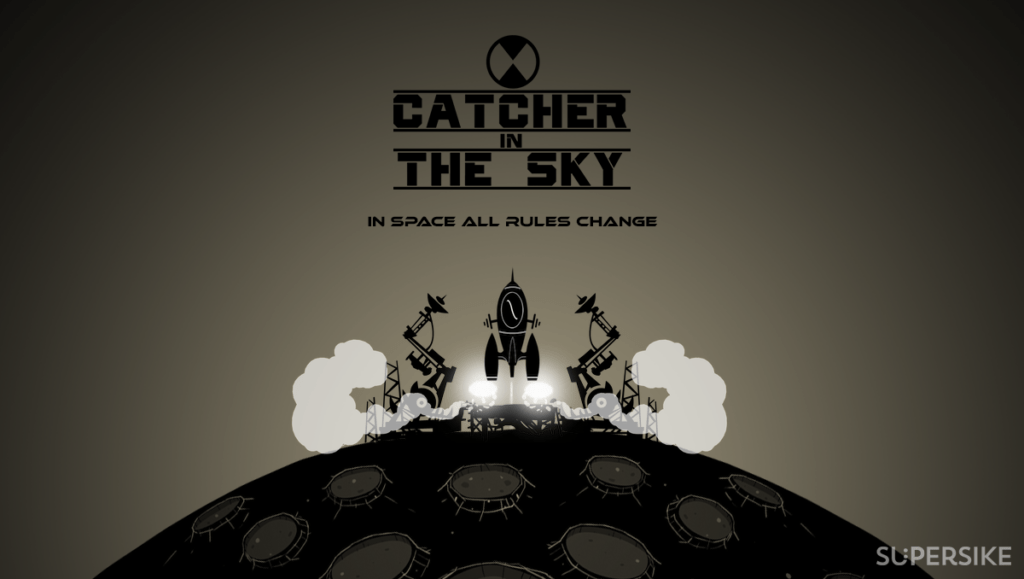
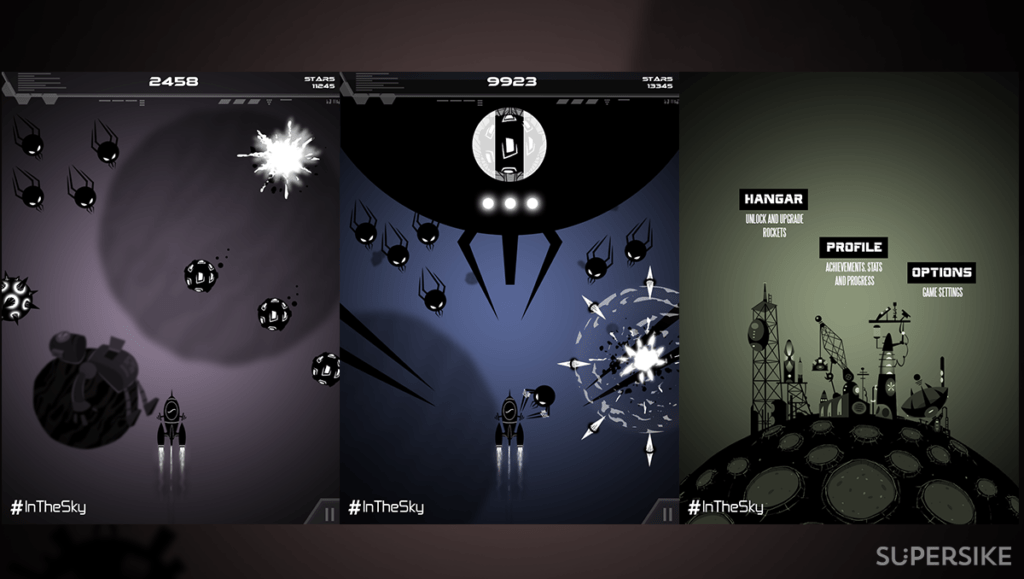
While I was working on this track, I was also creating a game that’s set in space. It shouldn’t come as a surprise that the game is also called “Catcher in the Sky”. In the game, the player goes through multiple moods and emotions, and I wanted to capture those sensations in a song.
Composition & production of the track.
I was messing around with the initial piano piece in a scale that wasn’t very clear to me at the time. ( later, I found out that it was G-major on Phrygian mode: wow!) I decided to begin with a piano piece because I wanted to create an element of mystery. To create the sound, I started out with a piano from Ableton Live’s library and then played around with the filter. I also added a ton of reverb on the send channel to give the sound more “space”. To emulate the style of a pianist slowing down, I did some tempo automation on the Master Channel. I added another layer of the piano with lower notes – emulating the pianist’s left hand to give it a more realistic feel. I also worked on the velocities of the notes.
Piano using Live’s Collision and some effects.
I layered this with a very space-like pad. I used Operator to make this sound, using the four oscillators (or “operators”, since this is a FM synth… darn Ableton for complicating matters by naming their products!). Each of the oscillators was playing the same wave but at different pitches. I also had an LFO running on them at the medium rate and very low amount. I threw in some reverb, chorus, EQ, and Live’s Auto Filter to automate the frequencies when needed.
Using Operator to create the intro pad section.
I was pretty excited with what I’d achieved with the intro. By now, I had added the effects towards the end of the section. I used two sounds for this. One was a very basic long sweep that I sampled from a previous project (which never saw the light of day), and the other was a pad from Live’s library with some tweaks and a bunch of automation along with heavy reverb.
I usually don’t take more than a day or two to finish a song, as I like working in the moment. I worry that if I take longer, I might forget the initial idea. In this case though, I really didn’t know what was needed to move the song forward. I was in half a mind to use the intro for a chillout track, but something told me to go ahead with a straight 4/4 groove. So I added a small section of a percussion loop I had sampled. First, the looped section needed to be cleaned up. Then I dropped in the Dynamic Tube to give it more edge, and used a compressor with sidechain input from the overall drums to make them a bit bouncy. I kept the threshold and ratio very neutral as I didn’t want the percussions to die completely when the drums played.
EQ8, Dynamic Tube and Compressor with S/C input from the overall drums
I’m not much of a fan of cymbals as a sound (except in rock music!), but the job they do is crucial. I used a basic sine wave operator at the start of the groove to act as an impact: basically, to do the job of the cymbal. All the oscillators were pitched away from each other. The trick here was to use the Pitch Env to create a weird overall sound
Oscillators (L), Routing and Pitch Envelope
For the bass, I used a classic saw tone with a low pass filter set at around 250 Hz. To add a sub-like tone I chained the saw operator with a sine operator so that the same notes would play the saw and sine together. I was quite pleased with what I had achieved so far.
Chaining instruments to layer them.
For the main lead, I used an operator patch a friend had given me. Four oscillators with broken waves, tuned oddly with a small wobble set through the LFO. A low pass on the operator did the trick for me.
I used these parts and a lot of automation to actually arrange the whole song. Since I felt that it needed some backing in the breakdown section, I added a sitar-like tone, along with another operator pad from the Live library. The song finally sounded more “complete”. All I needed now was to add some effects and to remove sounds at certain points.
I had used so much volume automation that mixing the track was now going to be a total bitch. At one point I almost decided to give up on the project! But then I had a great idea. I grouped all effects on each channel to create a rack. I then copied all volume automation from the channel fader to the chain volume of the rack. Now the channel faders were free to be used on the Mackie MCU Pro + XT for a proper mix. In fact, this is how I’ve mixed all my tracks since.
Using racks and chains for mix-downs.
I really enjoyed creating this track. Out of all the tracks I’ve made, I may just have used the fewest sounds and channels on this one. I received great feedback on it from some artists I admire, so that’s something special. The guys with whom I was working on the Catcher in the Sky game also liked it so much that we decided to use it as the soundtrack to the game. With permission, of course, from the label, MakTub Records.

